How to Send Password Protected Email Outlook | Easy Guide
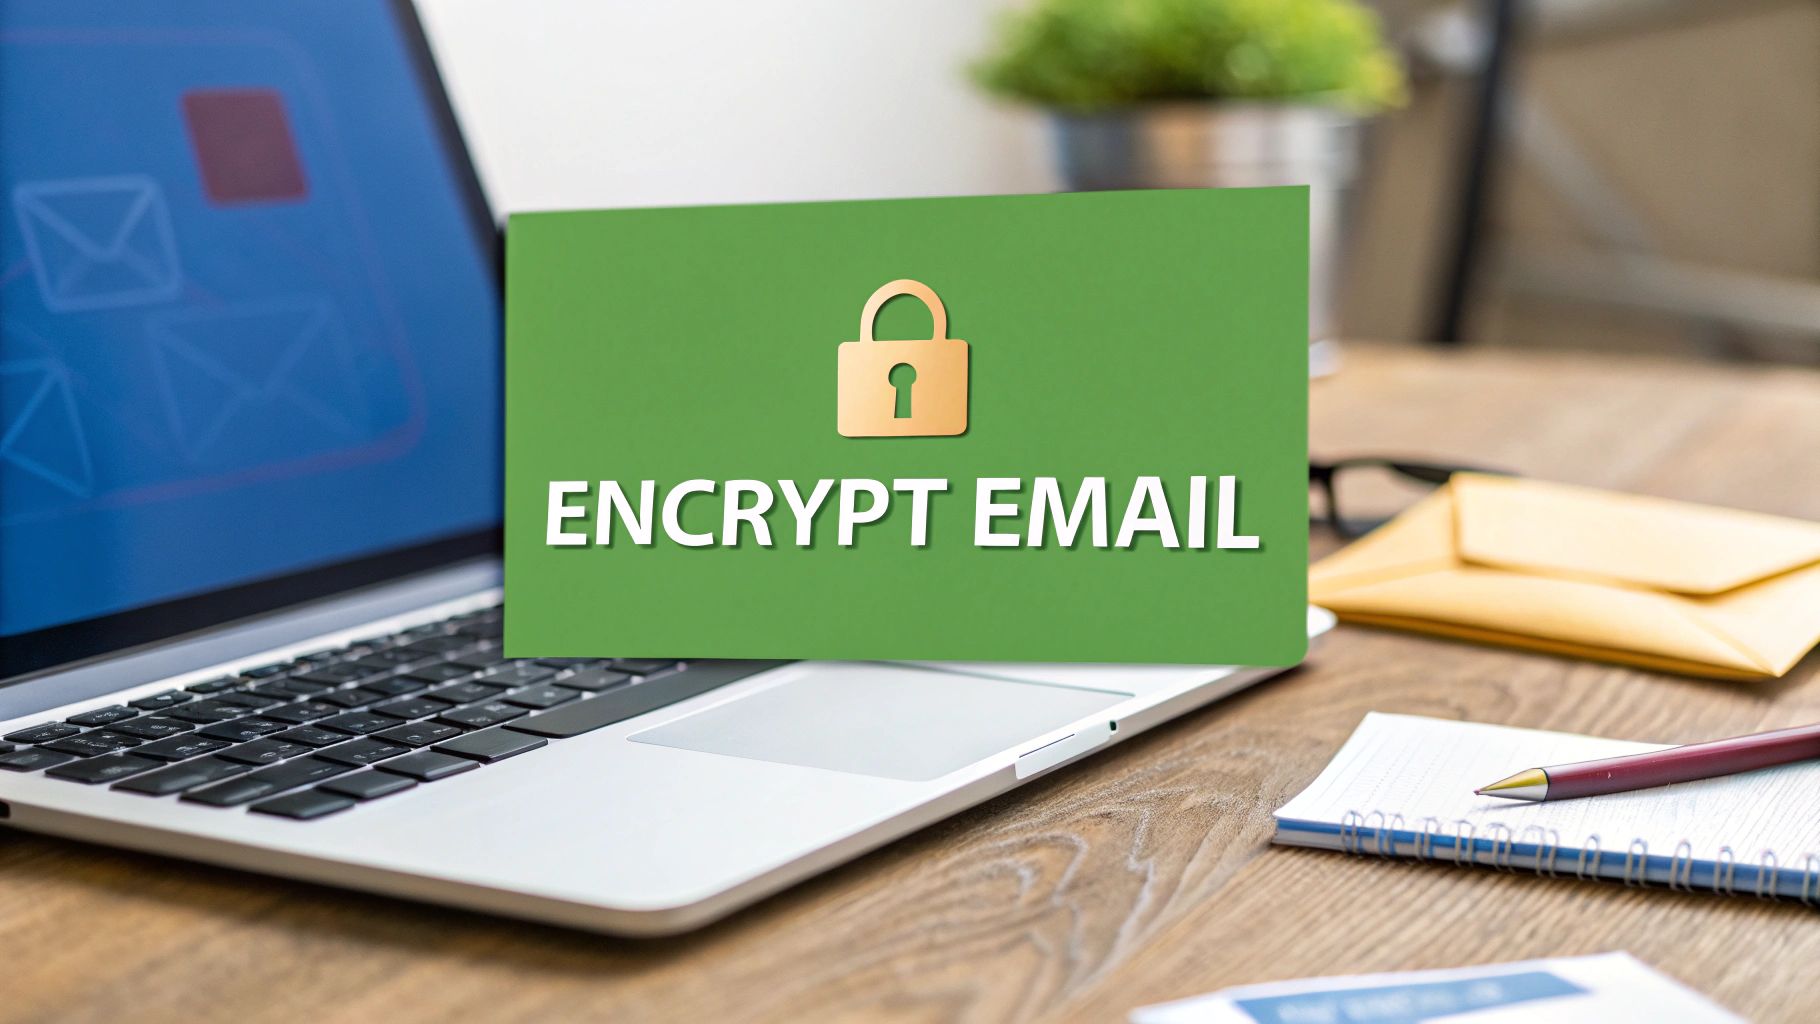
When you send a password-protected email in Outlook, you're actually using its built-in encryption features. This capability, which comes with certain Microsoft 365 subscriptions, lets you encrypt the message and control exactly what the recipient can do with it. Think of it less like a simple password and more like a comprehensive security system where recipients must verify their identity to get access.
Why Securing Outlook Emails is Essential
Before we jump into the "how-to," let's talk about the "why." Sending a standard email is a lot like sending a postcard through the mail. Anyone who gets their hands on it along its journey can read the entire message. In a business setting, that’s a risk you just can’t afford to take.
Imagine sending an unencrypted email with sensitive client data, a quarterly financial report, or your company's next big marketing strategy. If that email gets intercepted, the fallout could be disastrous—leading to direct financial loss, a tarnished professional reputation, or even steep compliance penalties.
The Real-World Impact of Unsecured Emails
It’s the simple, everyday mistakes that often cause the biggest problems. Take a small business owner emailing a payroll spreadsheet to their accountant. If that unsecure email is compromised, it instantly exposes employee names, addresses, and salaries—everything a criminal needs for identity theft. Or consider a lawyer discussing a confidential case over a standard email, potentially violating attorney-client privilege without even realizing it.
These aren't just hypothetical situations; they happen all the time. The need for stronger communication security is more critical than ever, especially as sophisticated threats evolve. Modern security measures, like those used in AI fraud detection, highlight just how seriously we need to take digital protection.
A single, well-crafted phishing email can be all it takes for an attacker to steal credentials and access a trove of sensitive data. Even security experts can fall for a sophisticated scam when they're tired or distracted, which is why layered security like encryption is so vital.
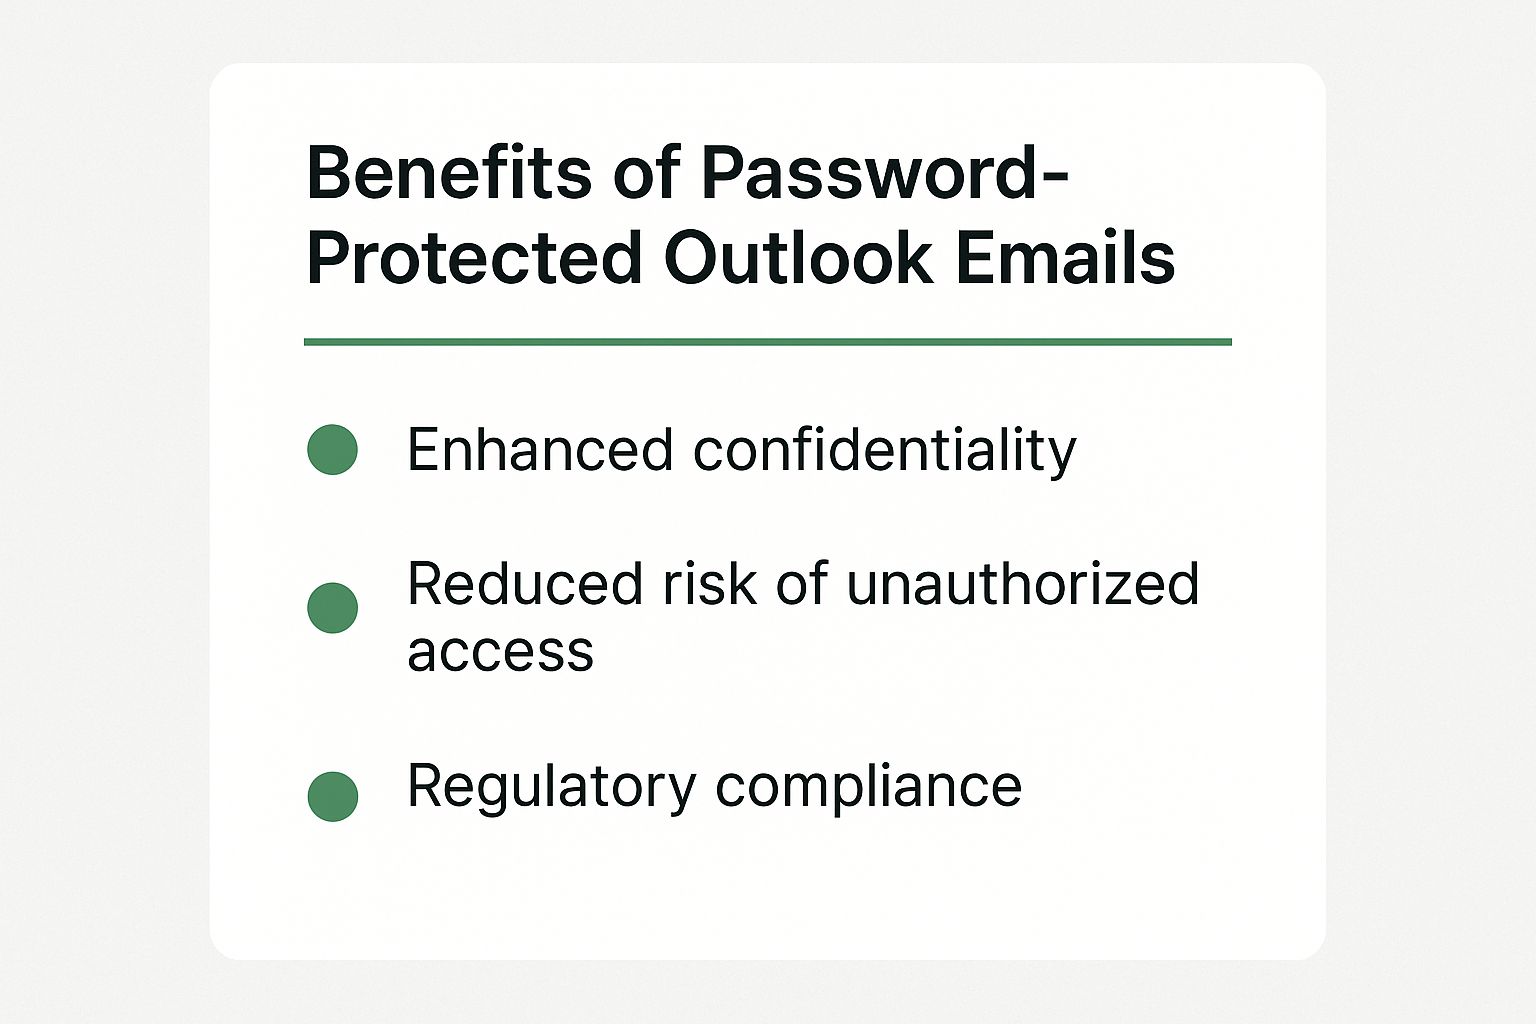
Compliance and Professional Responsibility
For many of us, email encryption isn’t just a good idea—it’s the law. Regulations like GDPR in Europe and HIPAA in the United States legally require the protection of personal and health information. A failure to secure this data can lead to staggering fines and legal battles.
Ultimately, adopting encryption is about shifting your mindset. It’s not an optional add-on; it's a professional necessity. With cybersecurity threats on the rise, sending an encrypted email in Outlook has become a fundamental part of doing business responsibly. Microsoft 365 features like 'Do Not Forward' or 'Do Not Print' automatically encrypt the email, preventing accidental (or intentional) data leaks.
When you consider that a password-guessing attack happens somewhere in the world every 39 seconds, taking a few extra moments to secure your emails is one of the smartest, simplest moves you can make.
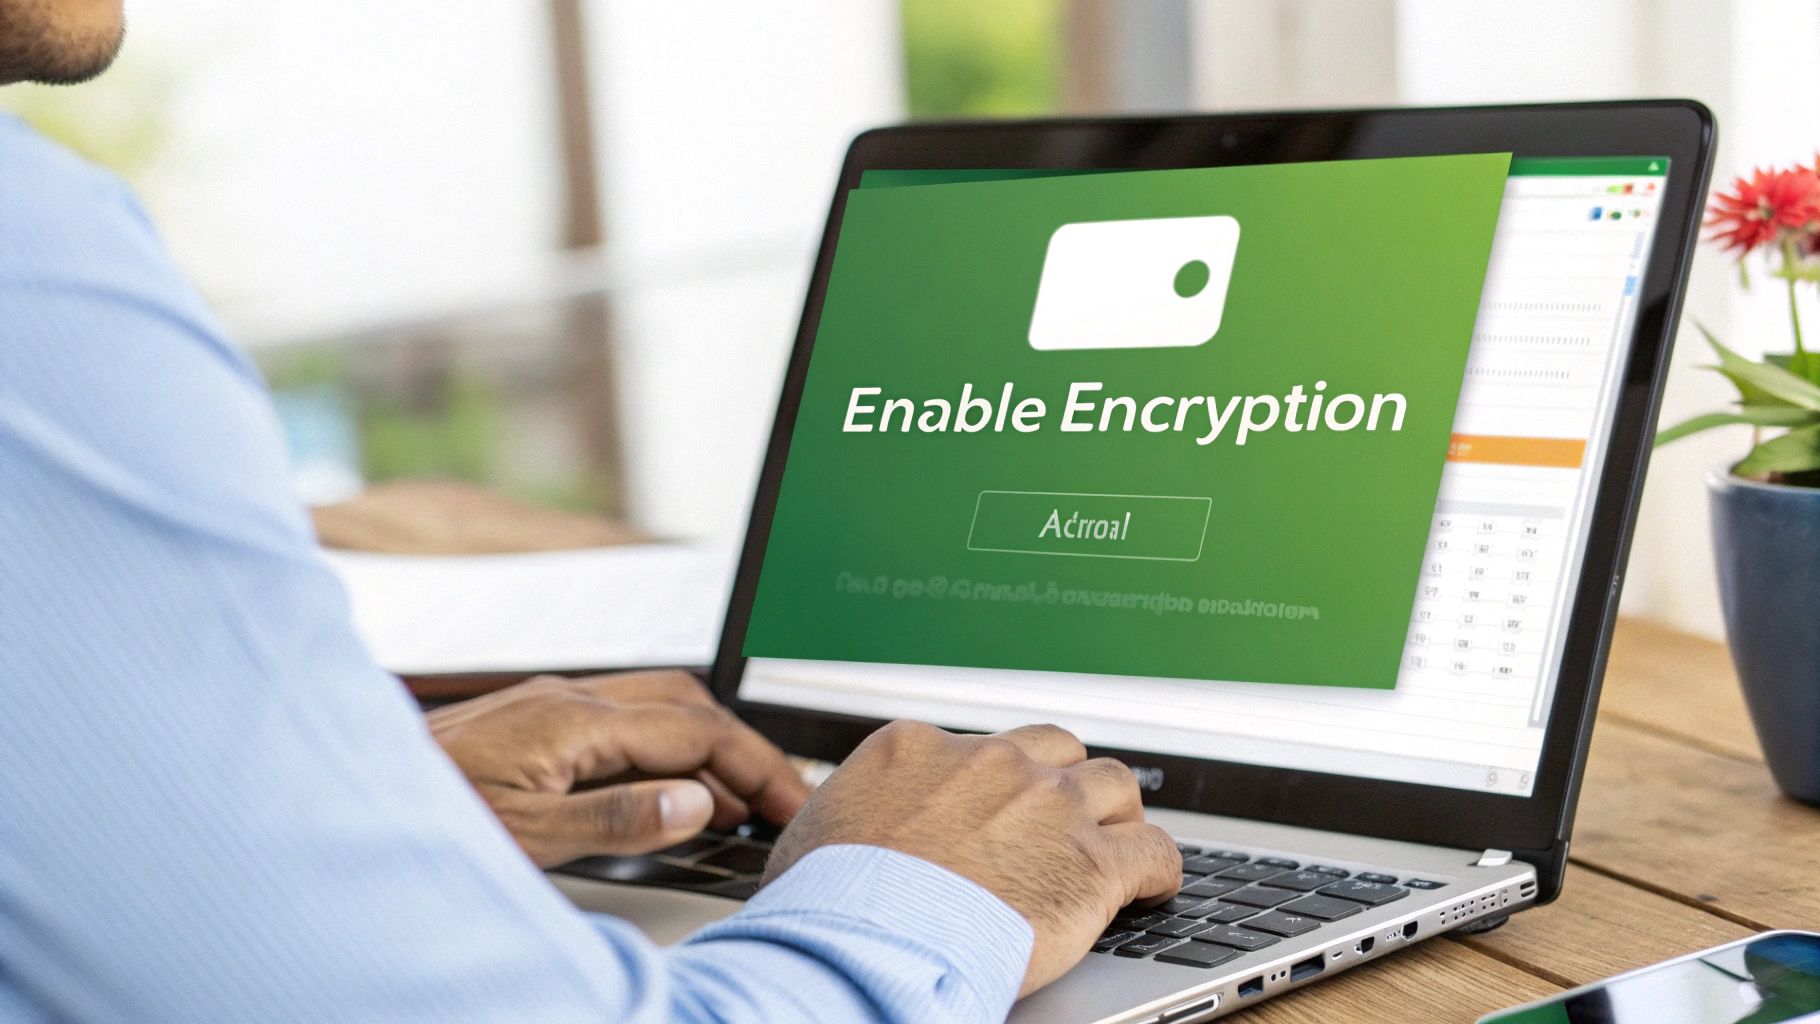
Understanding Outlook’s Two Encryption Methods
When you need to send a password-protected or secure email from Outlook, you’re essentially choosing between two very different security philosophies. It’s not just a matter of clicking a button; picking the right method depends entirely on your recipient and what level of security the situation calls for.
The two main players are Microsoft 365 Message Encryption (OME) and S/MIME (Secure/Multipurpose Internet Mail Extensions). Think of OME as a straightforward, modern security system that works for almost anyone, while S/MIME is more like a high-security vault that requires both parties to have a matching key.
Both routes get you to the same destination—enhanced confidentiality and compliance—but they take very different paths to get there. Let's break down which one you should use and when.
Microsoft 365 Message Encryption (OME)
For most day-to-day secure communications, OME is your best bet. It comes bundled with certain Microsoft 365 subscriptions (like Business Premium or the E3/E5 plans) and is engineered for convenience and broad compatibility.
The real strength of OME is how simple it is for the person on the other end. They don't need a special setup or even an Outlook account. Whether they use Gmail, Yahoo, or a custom domain, they'll get an email with a secure link. Clicking it takes them to a web portal where they can verify their identity with a one-time passcode to read your message. It just works.
OME is perfect for sending sensitive information—like contracts, invoices, or project plans—to external clients, partners, or customers. You don't have to worry about the technical hurdles they might face.
The Power of S/MIME
S/MIME is the heavy-hitter of email security. It’s a standard that’s been around for a while because it’s incredibly robust. This method uses digital certificates to provide both encryption (scrambling the message) and a digital signature (proving you are who you say you are).
But there’s a catch. For S/MIME to work, both you and your recipient must have S/MIME certificates installed and configured in your email clients. This usually means getting a certificate from a trusted Certificate Authority (CA) and setting it up in Outlook. Because of this requirement, it's fantastic for secure internal communication or for corresponding with partners who are also on the S/MIME train.
For a deeper dive into the principles behind these security protocols, check out this straightforward guide on how to send an encrypted email.
Comparing Outlook Encryption OME vs S/MIME
Choosing between these two isn't always obvious. To make it clearer, here’s a side-by-side comparison of their key features and requirements.
| Feature | Microsoft 365 Message Encryption (OME) | S/MIME |
|---|---|---|
| Recipient Setup | None. Works with any email provider (Gmail, Yahoo, etc.). | Requires recipient to have a specific S/MIME certificate installed. |
| Ease of Use | Very high. Sender just clicks "Encrypt." Recipient uses a web portal. | Moderate. Requires initial certificate setup for both parties. |
| Best For | External communication with clients, customers, and partners. | Internal communication or with partners who share the same standard. |
| Security Features | Encryption, plus policy controls like "Do Not Forward." | Strong encryption and digital signatures for sender verification. |
| Prerequisites | A qualifying Microsoft 365 subscription. | A digital certificate from a Certificate Authority (CA) for everyone. |
Ultimately, OME offers accessibility and ease for broad communication, while S/MIME provides a higher level of authenticated, point-to-point security for those who can meet its requirements. Both are powerful tools for protecting your information.
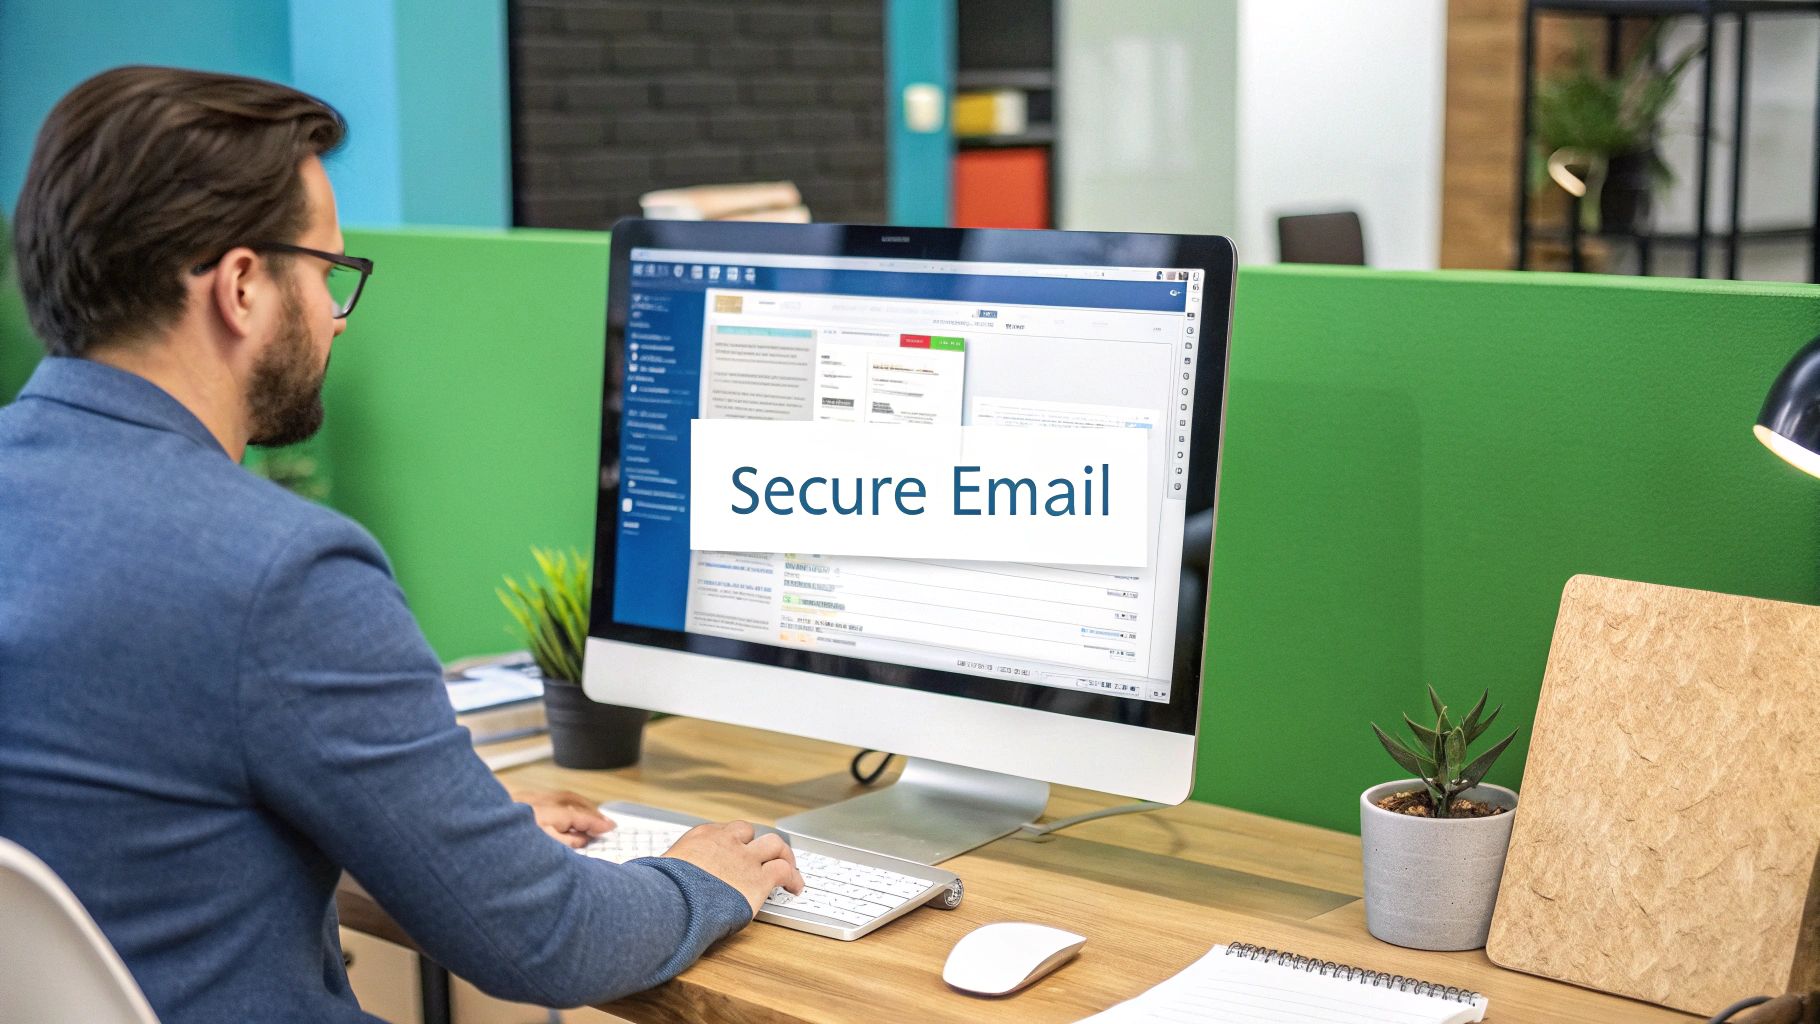
Sending Encrypted Emails with Microsoft 365
If you have a qualifying Microsoft 365 subscription, you’re in luck. This is by far the easiest way to lock down an email. It sidesteps all the technical headaches of S/MIME and just works, whether your recipient is on Gmail, their own company domain, or anything in between.
Let's walk through how to do it in both the desktop and web versions of Outlook.
This little "Encrypt" button is your best friend for sending sensitive info. A single click here is all it takes to protect your message before it ever leaves your outbox.
Protecting Emails in Outlook Desktop
When you’re working in the Outlook desktop app, the process is incredibly simple. Once you’ve drafted your message and attached your files, just shift your focus to the security settings.
Look for the Options tab in the ribbon of your new email window. You'll spot a button labeled Encrypt. Clicking this opens up a menu with different permission levels you can set for that specific email.
You'll typically see a few choices:
- Encrypt-Only: This is your basic encryption. It locks the message so only the right people can see it, but they can still copy, print, or forward it. Think of it as a locked door, but once you're inside, you can do what you want with the contents.
- Do Not Forward: This is the one you want for tight control. It not only encrypts the message but also actively blocks the recipient from forwarding, printing, or even copying the text. It's my go-to for sending anything I don't want spreading.
- Confidential / All Employees: This is an internal-only setting. It limits access to people within your organization, which is perfect for sensitive company-wide announcements or internal reports.
Just pick the policy that matches what you need, hit Send, and Outlook takes care of the rest.
Sending Securely from Outlook on the Web
The experience in the web version of Outlook is just as smooth. After you’ve written your email, you’ll find the Encrypt button right at the top of the message window, usually near Send and Attach.
Clicking Encrypt automatically applies your organization's default protection. If you need something more specific, like preventing forwarding, just click the Change permissions link that appears. This will let you select the exact policy you need.
From personal experience, the "Do Not Forward" option is a game-changer. I use it all the time when sending draft contracts or financial spreadsheets to external partners. It gives me confidence that the information will stay exactly where I sent it.
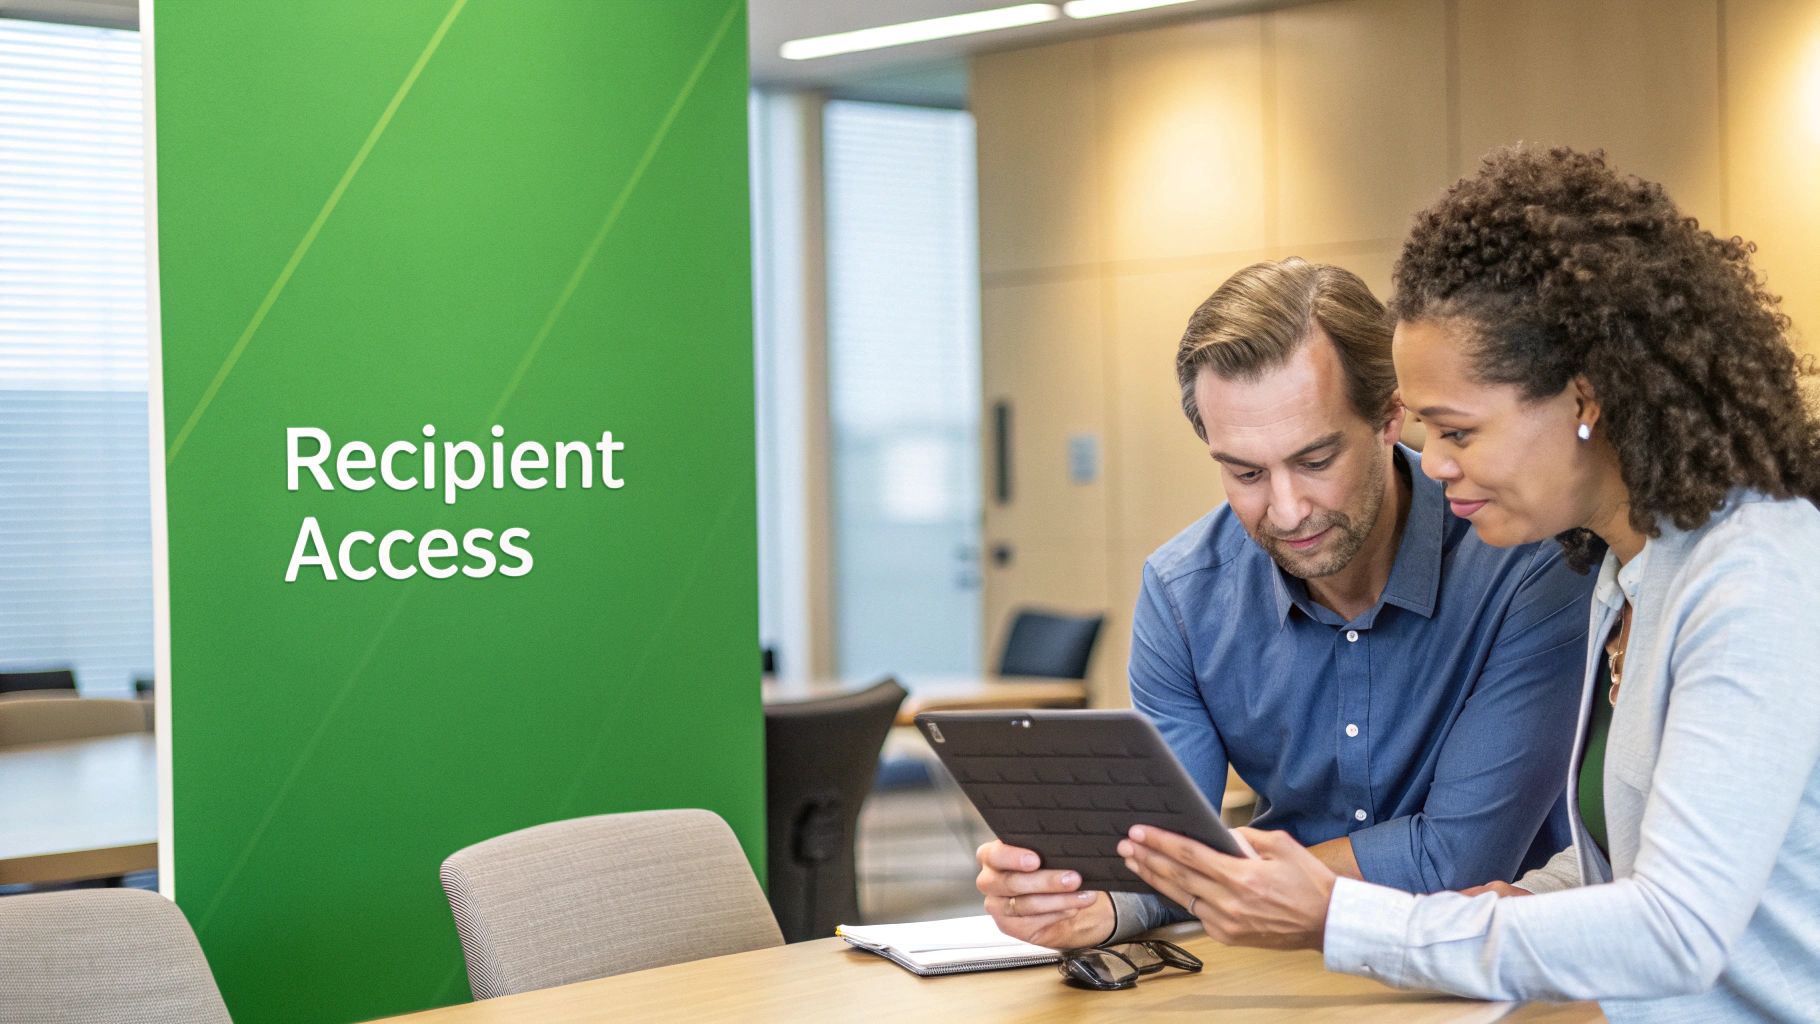
What Your Recipient Experiences
This is where the magic really happens. The person you’re emailing doesn't need to be an Outlook user or have any special software. They simply get an email with a link to view the secure message.
When they click that link, they’re whisked away to a secure Microsoft portal. From there, they have two painless options to prove they are who they say they are:
- Sign in with their existing account: They can use their familiar Google, Yahoo, or Microsoft login.
- Use a one-time passcode: They can request a temporary code be sent to their inbox, which they just enter to get access.
The whole process is fast and intuitive. It effectively password-protects your email without creating a technical support nightmare for the person on the other end.
Using S/MIME for Advanced Email Protection
When standard encryption isn't enough—when you need ironclad proof of who sent an email—it’s time to look at S/MIME. Think of it as the digital equivalent of a notarized document delivered in a tamper-proof envelope. It’s the go-to for sectors like finance, legal, and government where confidentiality and authenticity are both absolutely critical.
Unlike the more accessible Microsoft 365 Message Encryption, S/MIME operates on a formal system of trust. It uses digital certificates, which are basically digital IDs issued by a trusted third party called a Certificate Authority (CA). This certificate does two key things: it digitally signs your emails to prove they are from you and encrypts them so only the intended recipient can ever read them.
What Is a Digital Certificate and How Do You Get One?
A digital certificate is a small file that links your identity to a pair of cryptographic keys: a public key and a private key. You can share your public key with anyone—it’s like giving them a special, secure mailbox slot only you have the key for. Your private key, which you must keep safe on your computer, is that unique key.
Getting a certificate is a pretty direct process, though it does require some verification.
- Choose a Certificate Authority (CA): You'll need to pick a reputable CA. Common choices include IdenTrust, GlobalSign, or Sectigo.
- Complete the Vetting Process: This is the identity-check part. You’ll usually have to submit documentation to the CA to prove you are who you say you are.
- Install the Certificate: Once the CA approves you, they'll provide a certificate file. You then install this into your computer’s keychain or certificate store.
This setup is the most technical hurdle, but it's the foundation for a much more robust security posture.
Configuring S/MIME in Outlook's Trust Center
Once the certificate is installed on your computer, you need to let Outlook know it's there and how to use it. All this happens in Outlook’s Trust Center, which is the central command for all security-related settings.
Head over to File > Options > Trust Center > Trust Center Settings > Email Security. In this window, you’ll find the settings to link your new certificate to your email account for both signing and encrypting. After you select the certificate and save, Outlook is officially ready to go.
For a deeper dive into the underlying technology, you can find detailed insights into S/MIME and other security protocols that break down the mechanics of how it all works.
Key Takeaway: For S/MIME encryption to work, you and your recipient must exchange public keys first. The simplest way is to send them a digitally signed (but not encrypted) email. Their Outlook client will automatically save your public key, allowing them to send encrypted emails back to you.
This key exchange is a non-negotiable step for secure, two-way communication. Understanding this and other core concepts is vital; you can explore more in our guide on secure email protocols in our essential guide to email security. While S/MIME definitely requires more setup than other methods, the result is a verifiable and highly secure communication channel that can withstand serious scrutiny.
Smart Habits for Managing Secure Emails
Knowing how to hit the "Encrypt" button is one thing, but building real email security is about habits. It's the small, consistent things you do before, during, and after sending that truly protect your information. Think of it as moving from just using a feature to developing a professional, secure workflow.
One of the biggest mistakes I see people make is how they share the password or one-time passcode. Never send the password in the same email thread or even from the same email account. That's the digital equivalent of locking your front door and leaving the key under the mat. It completely defeats the purpose.
Instead, always use a separate, out-of-band channel. A few solid options are:
- Texting the password or calling the person directly.
- Sharing it over a secure messaging app like Signal.
- Using your company’s internal chat platform, like Slack or Teams.
This simple separation is a game-changer. If your email account ever gets compromised, the attacker still can't get into your encrypted messages because the key is somewhere else entirely.
Deciding When to Encrypt
Let's be real—not every email needs to be a digital fortress. If you encrypt everything, you'll create "security fatigue," and people (including you) will start to get complacent. The trick is to be selective and intentional.
Before you send, take a second to ask yourself if the email contains sensitive information like:
- Personally Identifiable Information (PII): Things like Social Security numbers, bank details, or home addresses.
- Confidential Business Data: This could be anything from contracts and financial reports to unannounced project plans.
- Sensitive Client Information: Think legal case files, patient health records, or other privileged communications.
If the answer is yes, encryption isn't just a good idea; it's essential. For everyday updates and general chats, a standard email is perfectly fine. This measured approach ensures that when you do send a secure email, it gets the attention it deserves. For an even more robust defense, you can also explore learning more about multi-factor authentication for email.
A pro tip I always share: give your recipient a heads-up. Before sending your first encrypted message to someone, shoot them a quick, separate note like, "Hey Alex, I'm about to send the contract in a secure email. Just wanted you to know it's coming and isn't spam." This avoids a lot of confusion and ensures they don't ignore it.
Managing Secure Threads and Attachments
Once you start an encrypted conversation, every reply should stay within that secure container, which is great for keeping things confidential. Just remember to be careful about who you add to the thread later, as they'll also need the credentials to access it.
And don't forget attachments—they're automatically protected by the same encryption rules you set for the email. So if you applied the "Do Not Forward" policy, that restriction extends to any PDFs or spreadsheets attached.
With over 400 million users, Outlook's security features are built to handle these exact scenarios, giving you control over both your messages and the files within them. Turning these practices into habits is what transforms your technical knowledge of how to send password protected email outlook into genuine, real-world security.
Common Questions About Outlook Email Encryption
Even with the best instructions, you're bound to run into a few quirks or have questions pop up when you start sending secure emails. It happens to everyone. This section is designed to tackle those common roadblocks head-on.
Think of it as your go-to troubleshooting cheat sheet. I’ll walk you through the frequent "what if" scenarios that people face, so you can solve problems quickly and get back to sending messages with confidence.
Can My Recipient Open a Secure Email on Gmail?
Yes, absolutely. This is one of the best things about using Microsoft 365 Message Encryption. Your recipient won't get the actual message content in their inbox. Instead, they'll receive an email with a secure link.
When they click that link, it takes them to a secure Microsoft portal where they can verify their identity without needing an Outlook account.
They have two simple options:
- Sign in with Google: They can just use their everyday Gmail login.
- Request a one-time code: A temporary passcode is sent straight to their Gmail, which they can use to open the message.
This makes it a truly universal solution that works great, no matter what email service your contacts are using.
What’s the Difference Between Encrypt-Only and Do Not Forward?
This is a critical distinction. Both options encrypt your email, but "Do Not Forward" adds a powerful layer of control over what happens after the email is opened.
"Encrypt-Only" is the baseline protection. It scrambles the message while it's in transit. But once your recipient opens it, they have full control. They can copy the text, print it out, or forward it to anyone they want.
"Do Not Forward" is much stricter. It encrypts the message and embeds a policy that physically prevents the recipient from forwarding, printing, or even copying the content. This gives you ongoing control over your sensitive information.
I use "Do Not Forward" all the time. For instance, when I send a draft contract to a new partner, this setting ensures the document stays between us. It prevents accidental shares and keeps the negotiation process confidential and secure.
Why Is the Encrypt Button Grayed Out in My Outlook?
This is probably the most common snag people hit, and it almost always comes down to one of two things.
First, your specific Microsoft 365 subscription might not include this feature. Encryption is typically part of the business and enterprise plans, like Business Premium, E3, or E5. A quick check of your plan details will tell you if you have it.
The second likely culprit is related to S/MIME encryption. If you're trying to use that method, the button will remain grayed out until you have a valid digital certificate installed on your machine and configured in the Outlook Trust Center. Without that certificate, Outlook simply doesn't have the key it needs to perform the encryption.
Ready to take full control of your email privacy without the complexity? Typewire offers secure, private email hosting with zero tracking and no ads, ensuring your communications remain yours alone. Explore our plans and start your 7-day free trial at https://typewire.com.
How to Send Password Protected Email Outlook | Easy Guide
Posted: 2025-09-21
What Is DMARC? Simplify Email Security
Posted: 2026-06-19
Email Blacklist Check: Restore Your Deliverability
Posted: 2026-06-17
Typewire Increases Storage for Pricing Plans: More Space
Posted: 2026-06-13
How to Get a .ca (Canadian) Email Address
Posted: 2026-06-12
Canadian Business Email: Best Options and How to Set It Up
Posted: 2026-06-09
PIPEDA Compliance: What Canadian Businesses Need to Know
Posted: 2026-06-05
What Is CASL? Canada’s Anti-Spam Law, Explained
Posted: 2026-06-02
What Is Whaling? How Executive Email Fraud Works
Posted: 2026-05-29